Six Studios, One Key
As of this week, all six of our imaging tools are in one place. Behind one key, with one menu.
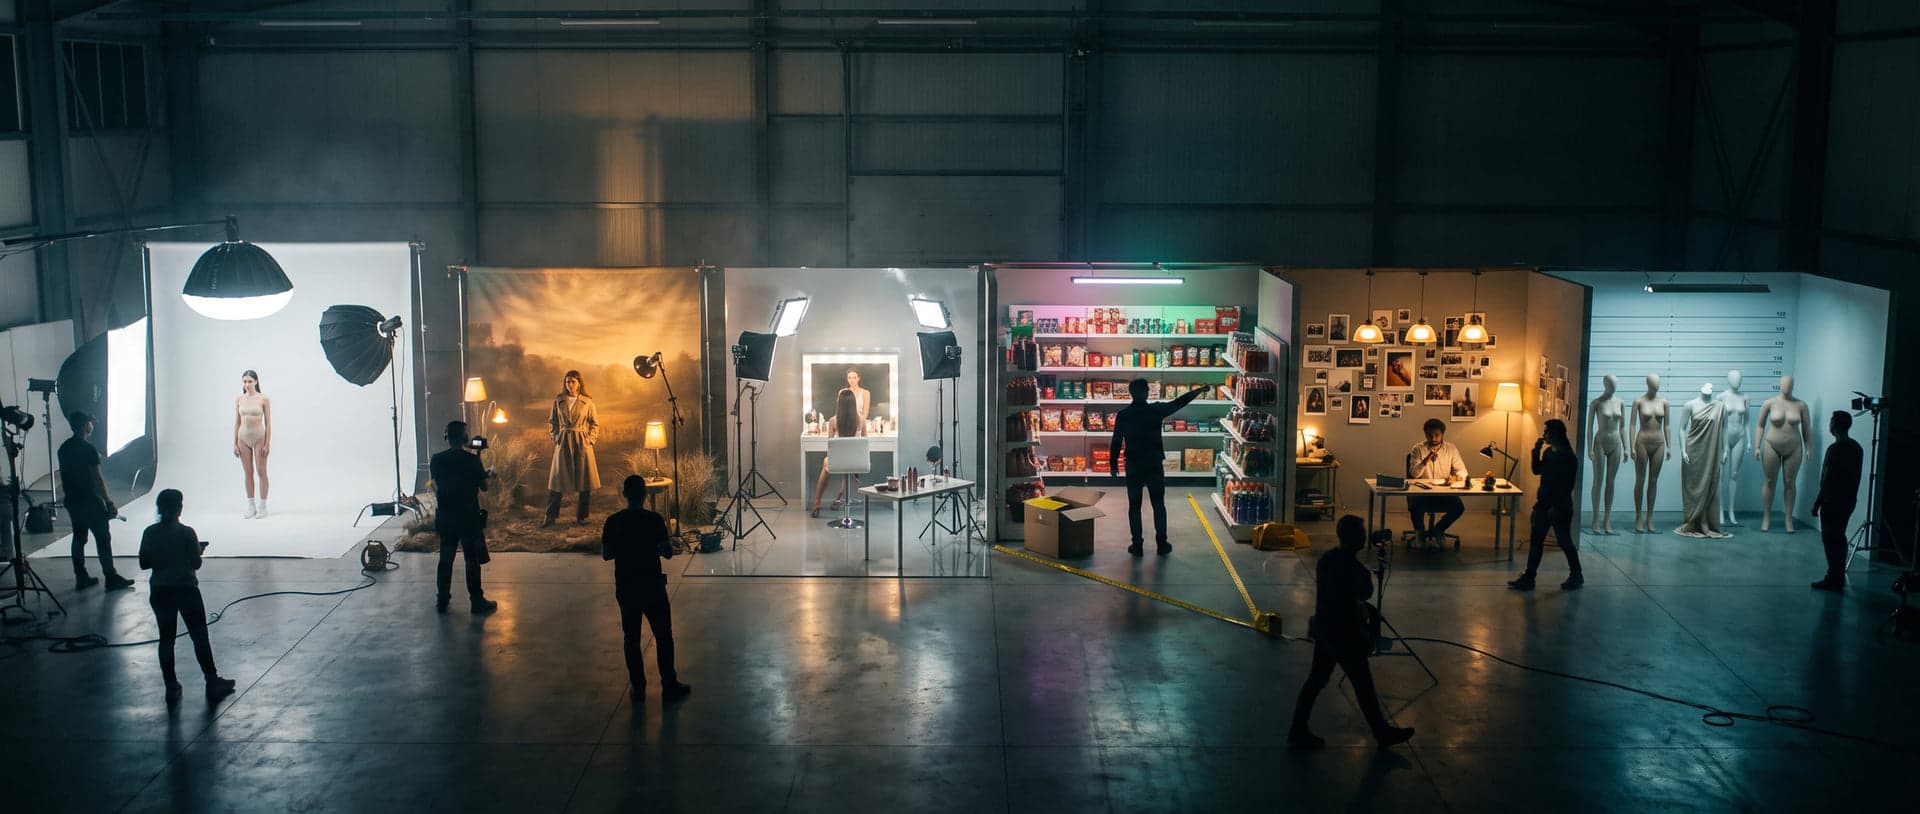
Figure 01.0 — Six Studios, One Key
The physical studio is closing — the boxes are already packed. But while packing is underway there, something has been unpacked on the other side. As of this week, all six of our imaging tools are in one place. Behind one key, with one menu. Previously, they were spread across three projects and two domains, and you had to know exactly where everything was.
When I wrote six months ago about the step from studio to digital atelier, it was mainly an intention. Now it stands.
One thing beforehand: these six studios are still locked. I am actively building and testing them, and they will only open once they perform as they should. What is open, however, is Zappa. Our prompt engine has been running on a subscription basis since March and is now widely used — anyone who wants to start with professional image prompts can do so today. The six studios below are what is emerging behind that door: the same discipline, but as complete workshops instead of prompts. And immediately the answer to the question I posed in June: Zappa without Higgsfield? Yes. This is it.
Six tools that look the same from the outside, but each do one thing well. A tour.
Model Studio
The packshot with a person in it. A clean, repeatable e-commerce image where the garment takes centre stage. Five fixed spots — face, clothing, styling, pose — and you add what you want: trousers, a belt, earrings.
What this studio maintains is precisely what matters in e-commerce. Pure white background, the same white from edge to edge. Neutral colour rendering, so the colour of the garment matches the actual product. Only a soft shadow under the feet. And most importantly: what is not on a reference is not added. No shoes you haven't provided, no jewellery no one has requested.
You can scan EANs with a hand scanner; they end up with a serial number in the download file name. And there is post-production behind it — background removal, compression, a foot shadow. That work was done by Teun for eight years for our fashion photos. That knowledge is now simply embedded.
Scene Studio
The same person, the same clothing, but on location instead of in the studio. You provide a face, clothing, and a mood image — and that mood image determines everything about the environment: background, light direction, colour temperature, shadows, depth, grain, contrast.
The difference lies in one thing: the model is lit in that scene, not pasted onto it. Warm backlighting gives warm skin. Cloudy light gives soft shadows. If there is a person in the mood image, that face does not count — only the environment is derived from it. This is the element that makes the difference between “a model with a background” and “a photo taken there”.
Product Studio
Beauty and personal care. Commercial images where a product is held, shown, or used. This studio started with a wish I wrote down in July: and now I want the model to also hold the product.
There is now a dedicated pose library for this: 93 poses where the model holds a product. Not the same separate model photos as in Model Studio, but a separate collection, specifically for this work. There is still much exploration in this component, regarding the size and proportions of products. A deep dive is still needed.
Action Studio
Retail. Category and campaign images where multiple products, people, and an action come together. A shelf image, a theme image, a seasonal image. Here, you don't work with separate spots but with four groups — main product, secondary products, faces, clothing — because it's about collections.
This is the only studio that doesn't build a separate prompt but compiles an image briefing: category, location, action, text space left or right for the headline that will be added later, product density, colours, light direction, camera height, season. You direct at the category level, not at a single photo. And it can be in 21:9, as a campaign image is usually wide.
This is precisely where the size issue I previously wrote about returns: a box of 39 cm must not be as large as a cupboard, and the size cannot be dictated. The more products in one image, the more that counts.
Free Studio
Everything that doesn't fit into a fixed pattern. Starting with an image, references, or a sentence you type — or speak. This is essentially Zappa prompt engine, but with direct image production, so from prompt to image, becoming a very cool tool.
The other five send your references directly to the image model. Free Studio adds a step: a written prompt is first created, which you can read and adjust, and only then does the image come out. You see what is being asked before anything is made. Those familiar with Zappa will recognise this: the prompt is not an afterthought, the prompt is the work. With modules that determine what the prompt is about — clothing, jewellery, camera and optics, environment, lighting, and an editorial stance.
And this component is the only one that sees both pose libraries: the separate model poses and those with products.
Body Studio
Models with a body type you determine, instead of the standard slim model body that otherwise emerges. Seven profiles, from very petite to full, each with shoulders, chest, waist, hips, limbs, and height impression separately described. And three settings: subtle, clear, or strict — where the build takes precedence over face, clothing, and pose.
The smartest part is in the roles. You assign per reference image what it may contribute: identity, hair, body, pose, clothing, location, or lighting. From this photo only the hair, from that only the build. The body reference is a derivative where the head is covered — so only one face is in play. Why this is necessary, I learned yesterday once again: you cannot ask an AI to forget a face. That entire blog, in hindsight, was about precisely this component. The solution lies in the image, not in the text.
Four fixed test setups (A to D) let you evaluate one thing at a time: first only identity, then with body image, then with pose, then the full set. So that if an image is disappointing, you know where the issue lies.
What They Share
One key, one entrance. A start page with six panels and a menu that always follows. Each tool remembers its own input: what you upload in Model Studio stays there and doesn't suddenly appear in Scene Studio. Reload the page, and everything is still there. What you upload at the office is ready at home. Each tool has its own gallery with only the images made there. You choose the format and resolution per image — 1K, 2K, or 4K, nine aspect ratios from square to 21:9. And a limit of twenty images per day.
The Common Thread
Six tools that look similar from the outside, but each do one thing well. The difference is not in the buttons, but in what is maintained: in Model Studio the white background and the true product colour, in Scene Studio the light of the location, in Product Studio the hand on the product, in Action Studio the briefing, in Free Studio the freedom, and in Body Studio the body.
Merging them was not a tidying action. It only became apparent that they answer six different questions. And it revealed something else: how everything from the past months comes together here. The question of whether the model can also hold the product became Product Studio. The research into the size of an item is in Action Studio. The lesson about the face that cannot be forgotten is in Body Studio. Separate blogs, I thought then. Chapters, it turns out now.
Once, we only edited images — Teun did that work for eight years. These six are their successors: no longer improving what already exists, but creating what does not yet exist. In January, I wrote from site to system. This feels like the next step: from separate tools to one studio. The physical studio is closing. The digital one has just gained six rooms.
Best regards,
Peet (& Claude) AI wrote this.