From Rough Bag to Beautiful Bag
I've been away for almost a month. And now, back to work.....right....?
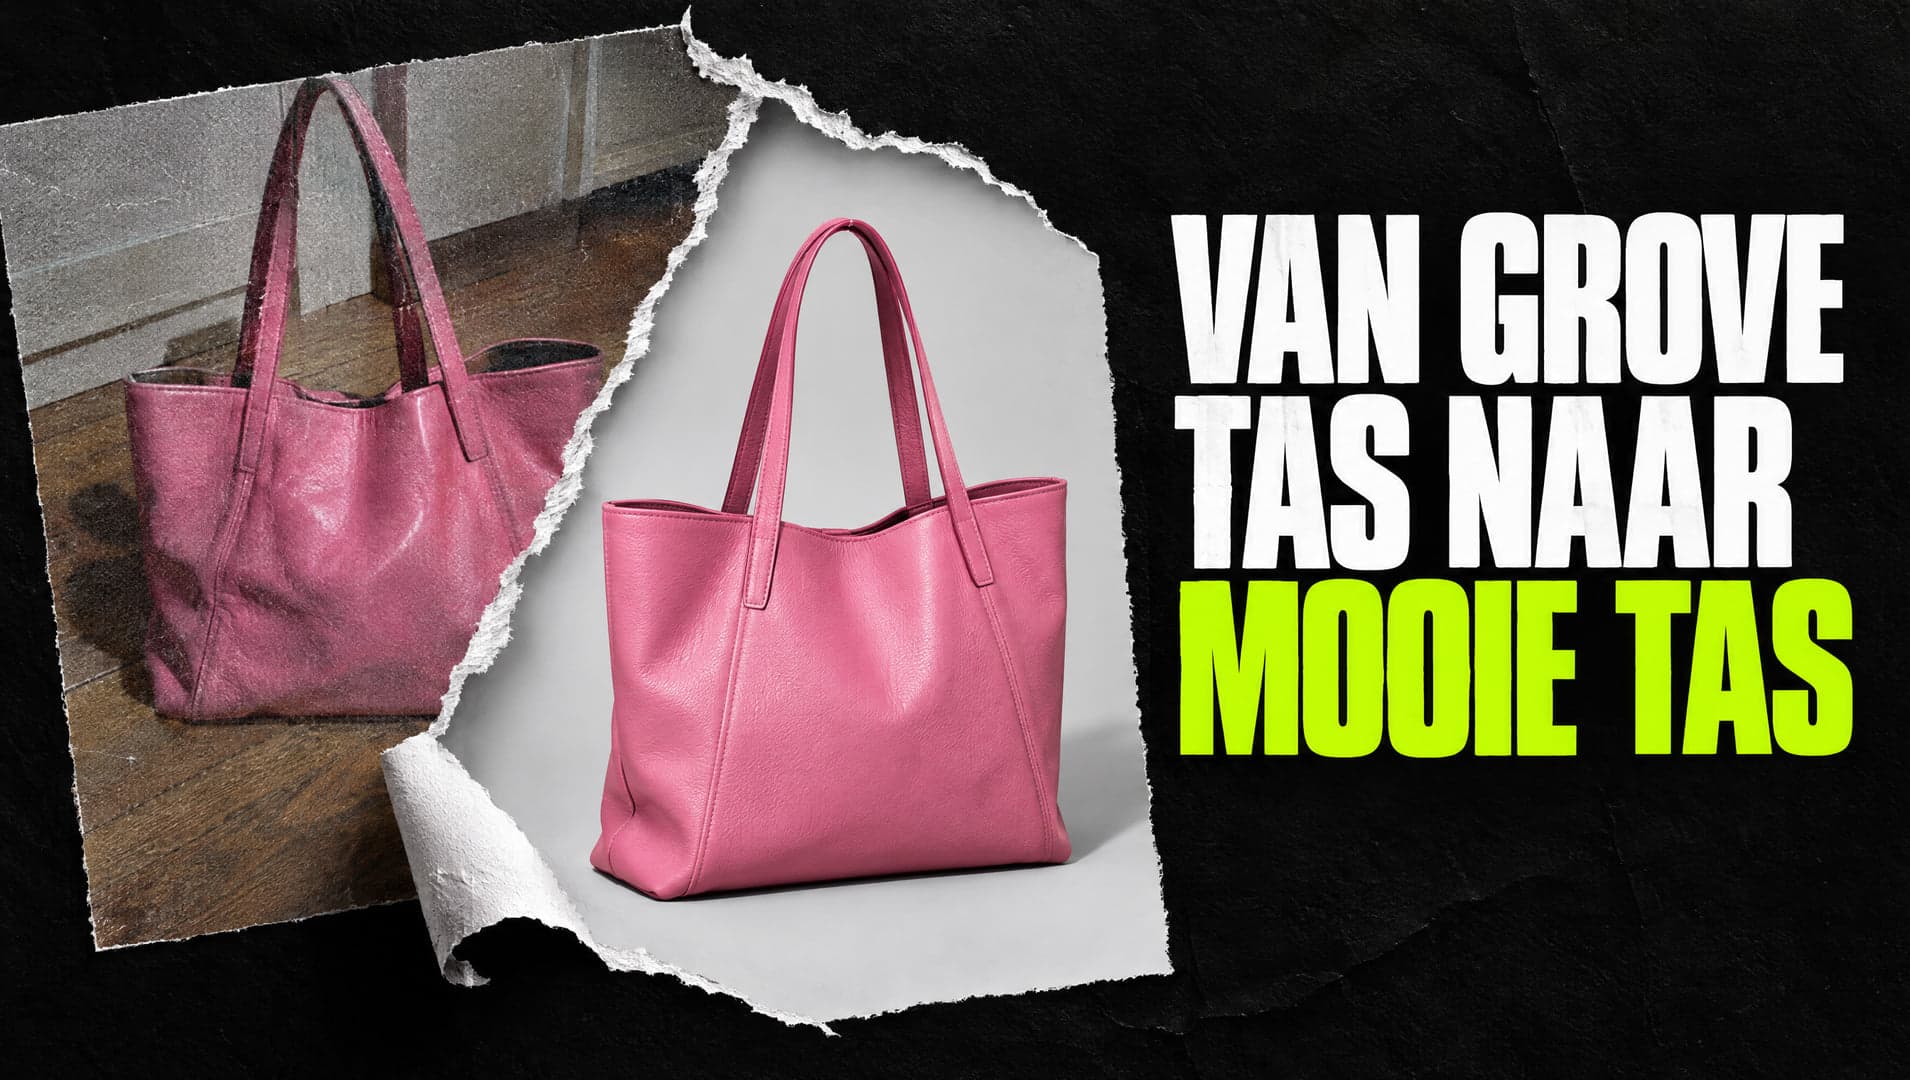
Figure 01.0 — From Rough Bag to Beautiful Bag

Next week, we're giving a demo with our friends from RB2. The morning was spent on their branding throughout the entire studio. One button, and everything is theirs. Another click, and it's ours again.
But the best part came in the afternoon. I asked Claude for a small, rough demo. From a rough bag to a beautiful bag.
That became Pack Shot Studio.
The Idea
You have a raw product photo. A phone snapshot, a supplier image, something from a second-hand site. You throw it in, and a packshot comes out. Studio lighting, plain background, the product in the same spot in the frame. Exactly what a webshop needs.
We didn't invent anything. We looked at eighteen packshots from our own Perfectly Basics days. More came out of it than I expected. The background isn't white but very light grey, because on a white webshop, white fades away. There's much more space around the product than you think. Shoes are in profile, nose to the right. Belts rolled up, buckle front left.
Seven product groups, each with their own rules. Bags, belts, shoes, jewellery, bottles, electronics, textiles.
The Wooden Floor
The first results were half successful. Literally. The wooden floor from the source photo just stayed there. Or the top of the bag disappeared into some sort of mist.
The model didn't photograph again. It started polishing what was already there.
Claude sharpened the instruction. Stricter. Even stricter. With FAILURE in capital letters. Three times. Nothing changed.
If three rounds of language do nothing, it's not a language problem.
So we removed the background before the model starts. Cut out the product, set it to the right shade, then generate. No more floor to keep. It worked immediately.
Everything Around the Bag is Calculation
Then it accelerated. Because what turned out: everything that is not the bag, you can calculate.
The background shade was never right. Ask for 247, get 229. So we corrected it afterwards. Then I saw an edge around the image. A sort of frame. Measured: the model sometimes puts a gradient in the background, dark at the edge, light in the middle. Now each piece of the image is measured and corrected. No more frame.
The position in the frame. I wanted all products on the same line. Bottom at 12% from the bottom, height 72% of the image. You don't ask that of an image model. You calculate it.
The size. Initially, we provided the ratio to the model. The bag came out limp, sagging, as if it was still hanging from a hand. "Photograph this again" and "fit it in this frame" are two commands, and the second wins. Now the model composes freely and we add space afterwards.
And the variants. Initially, three times the same photo with different lighting. Now each product group gets its own camera positions.
And Then It Went Wrong
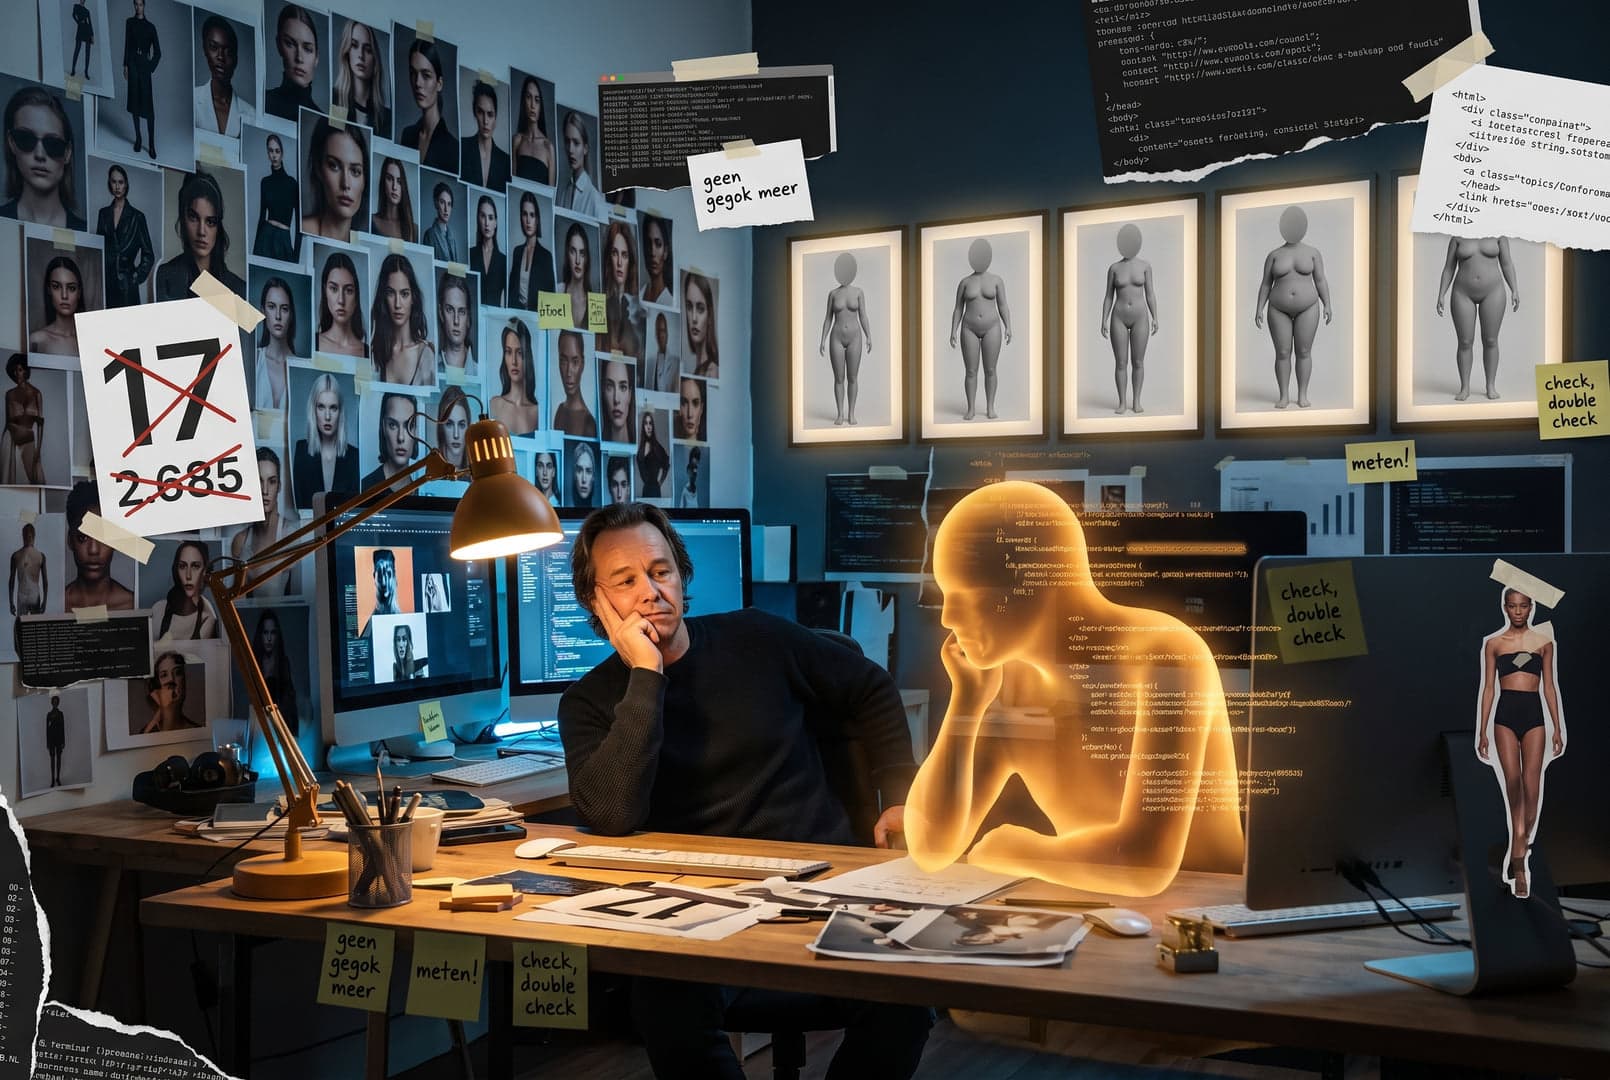
Late in the afternoon, I found the lighting really poor. Claude went to measure. No overexposure. But large differences in how light the leather was. So that was equalised. Then the contrast. Everything neatly measured. The numbers kept getting better.
The photos kept getting uglier. Glimmers, spots, grey leather.
"We started off really well," I said. "I'm a bit sick of it."
In hindsight, it's simple. Everything that worked calculated what was around the bag. This calculated the bag itself. Claude looked at the numbers. I looked at the photo.
Turned off. Back to how it was. The first series afterwards was immediately better in colour.
Where We Stand
Background, size, and position are now fixed, measured over twenty shots. How the model places the bag and where the shine falls, not. Sometimes it stands upright, sometimes it sags. That's still open.
And there were 73 packshots of the same pink bag. Time for other products.
What I take away: with an AI model, you can determine the frame. Not the product. You choose from what it gives.
A number that gets better is not yet a photo that gets better.
Nice to be back.
Peet